Materials
Each board needs one 48 by 24 inch top. Half-inch plywood is the common choice for weight, and three-quarter-inch plywood is heavier but stiffer. The frame is built from nominal 2x4 lumber, which actually measures 1.5 by 3.5 inches, and that actual dimension drives the cut list below.
Beyond lumber you need wood screws, wood glue, carriage bolts with washers and nuts for the legs, a 6-inch hole cutting method, and finish materials. Sanding sealer plus a smooth paint or clear coat is what produces a surface bags slide on rather than grab.
| Part | Quantity | Length | Notes |
|---|---|---|---|
| Top | 2 | 48 x 24 in | Half-inch or three-quarter-inch plywood |
| Side rail | 4 | 48 in | Two per board, run full length |
| End piece | 4 | 21 in | 24 in width minus two 1.5 in rails |
| Cross brace | 2 (optional) | 21 in | One per board, mid-span |
| Leg | 4 | Cut and fitted | Trim until rear of top measures 12 in |
Cut list for two boards
With the frame built under the tops rather than around them, each board uses two 48-inch rails and two 21-inch end pieces, giving four rails and four end pieces for the pair. The 21-inch figure comes from 24 inches of width minus the 1.5-inch actual thickness of each side rail.
Cross braces are optional. Two 21-inch braces, one per board, stiffen a half-inch top and reduce flex under a bag landing mid-board. Legs are the one part not to cut to a fixed published number: cut them long, mount them, and trim until the rear of the finished top measures 12 inches off the ground. Leg length depends on top thickness, frame depth, and where the pivot bolt sits.
Build sequence
Assemble the frame first and check it for square by comparing the two diagonals before the glue sets. Attach the top to the frame, then mark the hole: center of the hole 9 inches from the back edge, centered on the 24-inch width. Cut the hole before finishing so you can sand the rim.
Mount the legs with a carriage bolt through the frame so they pivot and fold. Round the top corner of each leg where it rotates, or it will bind against the frame. Set the rear height to 12 inches with the legs down, then confirm the front edge lands between 2.5 and 3.5 inches.
Finishing the surface
Surface finish affects play more than any other build decision. A rougher finish slows bags and rewards spot-landing; a slicker finish lets bags slide toward the hole and rewards a flatter throw. Neither is wrong, but a matched pair matters because two boards with different friction make distance calibration unreliable.
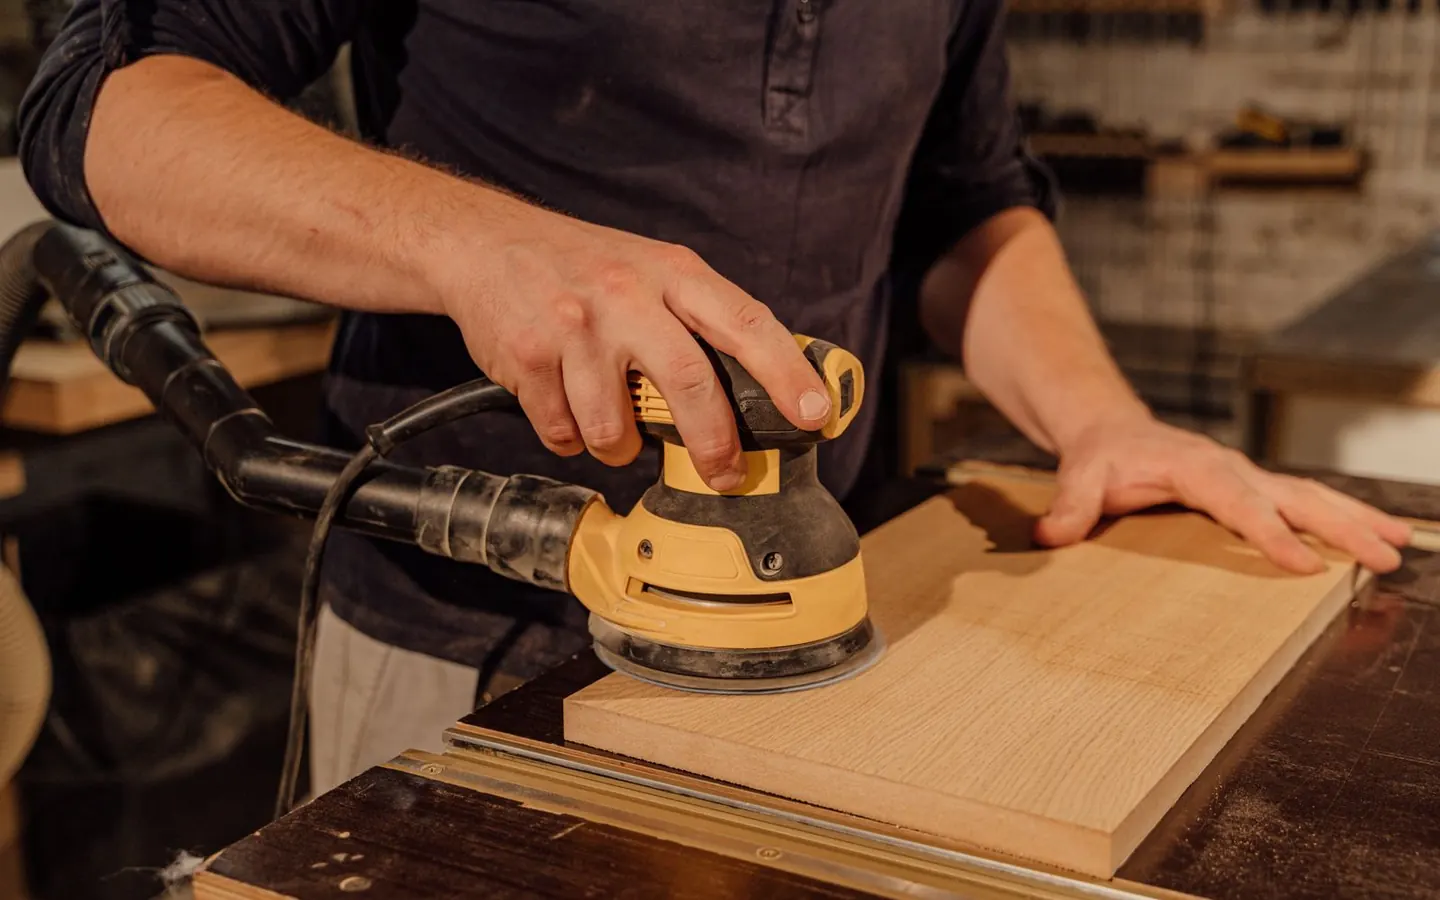
Fill the plywood grain, sand between coats, and expect several thin coats rather than one thick one. Runs and dust nibs in the finish will steer bags in ways that are hard to diagnose later.
A few common questions
What length should the legs be?
There is no single correct number, because it depends on your top thickness, frame depth, and bolt position. Cut them long, mount them, and trim until the back edge of the finished top sits 12 inches above the ground.
Can I build the frame around the top instead of under it?
Yes, but then the frame pieces need different lengths and the finished outside dimensions grow past 48 by 24 inches. The playing surface still has to measure 48 by 24 inches to be regulation.